Use this worksheet to keep drawing comparisons organised. It provides four groups of five marks and space for the iPad model, Pencil model, software version, brush, canvas size, zoom and the setting changed.
Download the drawing worksheet (PDF) Download the blank workflow log (CSV)
Quick start: change one setting
- Save one worksheet for setup A and record the device, app, brush, canvas and zoom.
- Complete the four groups of marks with your usual hand position.
- Duplicate the worksheet for setup B and change only the setting you want to compare.
- Open the drawing workflow log, describe what you saw, and save a CSV or text record with both drawings.
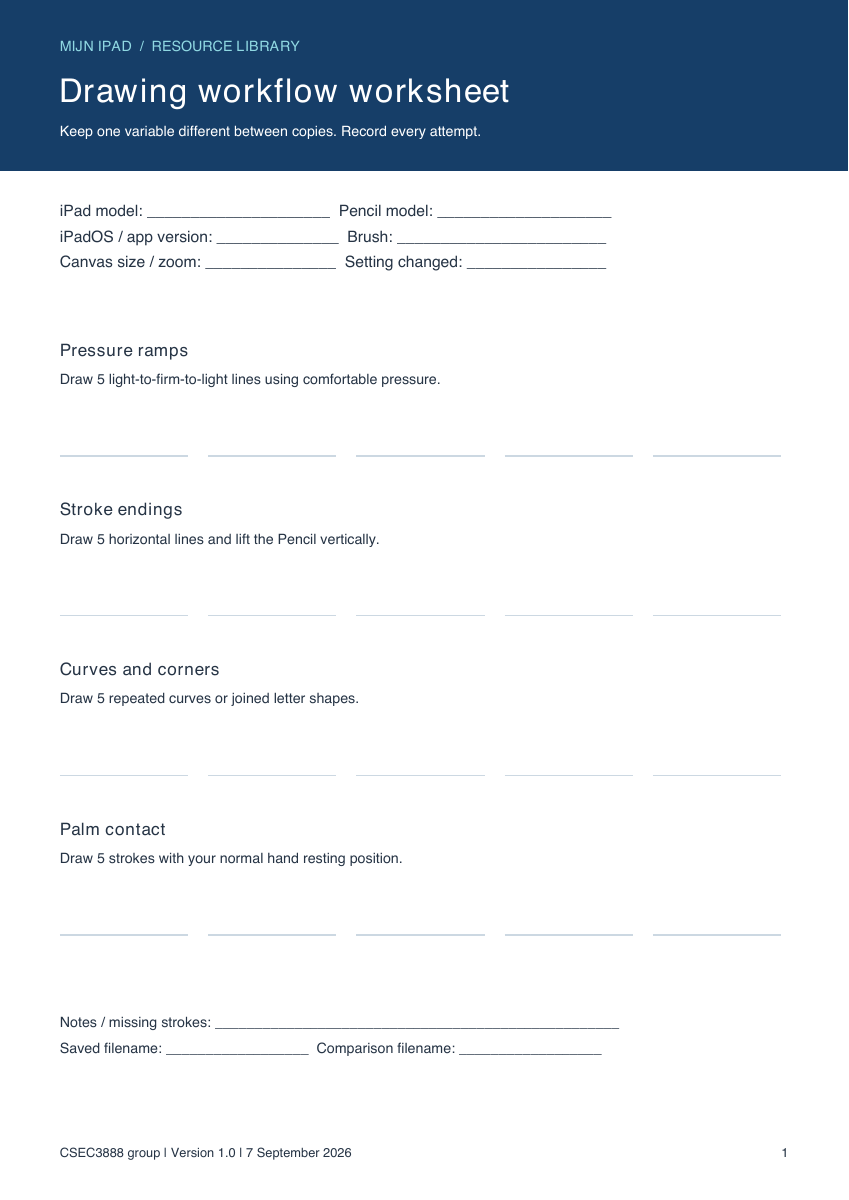
Four groups to record
- Pressure ramps: make five light-to-firm-to-light lines using comfortable pressure.
- Stroke endings: draw five horizontal lines and observe their endpoints as you lift the Pencil.
- Curves and corners: repeat five curves or joined letter shapes relevant to your own work.
- Palm contact: make five marks with your normal hand position and record any stray action or missing start.
The 20 marks are a convenient starting sequence, not a statistically established sample size or a hardware score. Keep awkward and unsuccessful attempts in the record.
Make a comparison you can repeat
- Keep the original worksheet and make a copy for setup A.
- Record the exact hardware, app version and brush settings before drawing.
- Keep the canvas size, zoom and drawing task consistent.
- Change one setting and repeat the sequence in setup B.
- Return to setup A for another short set if practical. This helps reveal changes in practice, hand position or fatigue.
- Save both outputs with clear filenames and describe the visible difference.
A saved drawing can show how a brush behaved in that sequence. It does not by itself measure physical force, internal touch classification or hardware latency. For timing claims, keep the recording and define the start and end events.
Name the files so the comparison stays together
Use one session name for the worksheet, output and log. For example, keep drawing-A.pdf, drawing-B.pdf and the downloaded CSV in the same folder. Write the setting changed in the log rather than relying on the filename alone.
The browser checklist includes an outcome and observation field for each group, plus a place to record a return to setup A. It starts with every check marked “Not checked” and works without an account.
Check documented features first
Apple’s compatibility list identifies supported Pencil and iPad combinations. Apple’s drawing guide describes input features. These help establish which controls and accessories apply before comparing marks.
For Procreate, consult the Preferences handbook and Brush Studio settings. Save the original settings before making an adjustment so you can recover a comfortable setup.
Keep observations with the files
The CSV is blank apart from its column headings. Record only checks you performed. A missing observation should remain blank or be described explicitly; zero failures is a different result.
Use the worksheet digitally or print it, depending on the task. Importing it into another app may change its scale, so record canvas dimensions rather than assuming a printed unit maps directly to the screen.
These resources are part of version 1.0 of the Mijn iPad resource pack. Published by CSEC3888 group, Australia. Contact contact@csec3888.com with corrections or questions.